


Popular collections
Mejore su cuidado de la piel con dispositivos de vanguardia para obtener resultados visibles

Mejore su cuidado de la piel con dispositivos de vanguardia para obtener resultados visibles
Dispositivos de cuidado de la piel mejor valorados para una piel radiante y juvenil

Dispositivos de cuidado de la piel mejor valorados para una piel radiante y juvenil
Popular products

Dispositivo facial de luz roja con microcorriente RF ZAQ Sven
- Precio de venta
- $249.99
- Precio regular
- $499

Máscara LED ZAQ Noor 2.0 | Terapia con luz roja, azul e infrarroja
- Precio de venta
- $399.99
- Precio regular
- $499.99

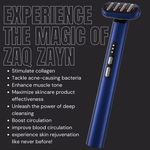
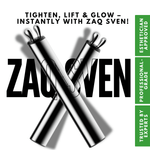
ZAQ Zayn - Luz LED roja y azul con microcorriente, calor y vibración
- Precio de venta
- $199.99
- Precio regular
- $299.99


